The Evolution of CoGardener: From Backyard Experiment to v4 Beta
- Keith Yzquierdo
- Sep 8, 2025
- 3 min read

Like many people, we wanted to grow our own food. We built raised garden beds, planted seeds, and waited for the magic to happen. But season after season, our plants failed. They were eaten by animals or insects, overrun by weeds, scorched by the sun, bitten by frost, dried out, or beaten down by hail. We didn’t want one of those indoor grow kits—we wanted to smell the dirt, get our hands dirty, and grow something other than lettuce.
That’s how CoGardener began.
Version 0: The Backyard Fix
Our first attempt was a simple cover made from plastic sheets and PVC pipe. It solved a few problems, but it created new ones: overheating became a major issue, and one wet snowstorm collapsed the whole thing.
Version 1: The First Automation
Next, I designed a wood-framed cover using twin-wall polycarbonate, complete with automated irrigation, a soil heater for frost protection, and an exhaust fan on a thermostat to manage heat. I even built a small solar system to power it all. It wasn’t pretty, but it worked. Neighbors saw it and asked if they could get one too. The answer was "no", but it got me thinking...

Version 2: The First Kit

That led to version 2—a smaller, shippable kit. It looked good, but I cut too many corners trying to keep costs down. It couldn’t support the weight of wet soil, and it failed. I posted the design on Reddit to get feedback, and the community helped point the way forward. I could remove a lot of the clear plastic surfaces because they weren't contributing much to plant growth. Since the clear material is expensive, that also reduced cost.

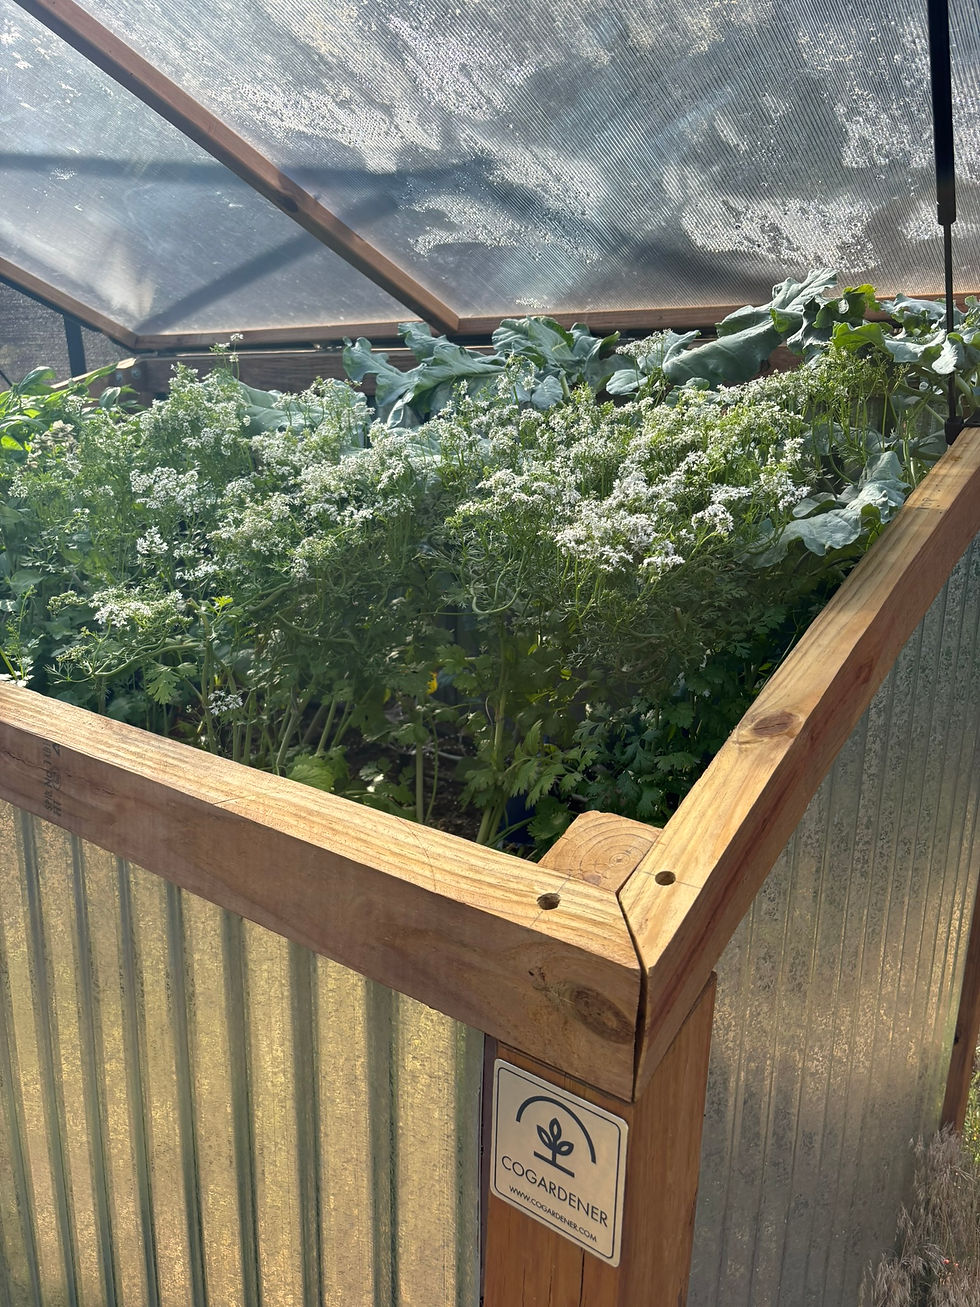
Version 3: The Breakthrough
The v3 unit was a game-changer. Built from galvanized steel and pressure-treated wood, it’s sturdy and built to last. I’ll admit the build quality isn’t flawless—when your 5-year-old is one of the assistant builders, you can’t expect furniture-grade craftsmanship! But it looks good, it’s strong, and most importantly, it works.
This summer, I successfully grew a wide variety of food, and I recently planted cold-season crops—kale, carrots, beets, and lettuces—to see how long I can keep them alive at 8,400 feet in Colorado.

Version 4: Coming Soon
Of course, I learned plenty of ways to improve v3. The front needs to flip down for easy access and to provide a working surface for seed packs and tools. The pieces need to be smaller for shipping. It should have more metal and less wood. More height inside would be nice. Right now, the v4 design exists as a 3D CAD model. My plan is to refine it over the next few weeks and share images here soon.
V4 will be the first version available to initial customers. The design will shift toward mostly metal parts fabricated in a professional shop, and I’ll be looking for a handful of local beta testers. Beta testers will receive a significant discount and white-glove support directly from me.
If you want to be among the first to try CoGardener v4, join the waitlist today.
More on v4 coming soon.


Comments